How to Create a Blog in Elementor Pro (2025 Guide)
Creating a professional, visually engaging blog with Elementor Pro has never been easier. Whether you’re a beginner building your first WordPress site or an experienced designer, Elementor Pro gives you complete control over your blog’s design, layout, and functionality — all without coding.
In this 2025 step-by-step guide, you’ll learn how to set up your WordPress blog using Elementor Pro’s Theme Builder, Loop Gridund Dynamic Content tools.
Why Use Elementor Pro for Blogging?
Elementor Pro isn’t just a page builder — it’s a full design platform that lets you create custom blog layouts, single post templatesund archive pages visually.
Here’s why it’s a great choice for bloggers:
- 🧩 Complete design freedom — build your own post layouts without relying on your theme.
- ⚡ Dynamic templates — one design updates across all posts automatically.
- 📱 Fully responsive — mobile-first design built right into the editor.
- 💡 SEO-friendly — clean code, proper heading structure, and integration with Yoast or Rank Math.
- 🧠 Easy maintenance — edit once, apply changes site-wide instantly.
Step 1: Set Up WordPress and Install Elementor Pro
Before creating your blog, make sure you have:
- A working WordPress installation (preferably the latest version).
- A lightweight theme like Hello Elementor.
- Die Elementor und Elementor Pro plugins installed and activated.
Once installed, you’re ready to start designing your blog structure.
Step 2: Plan Your Blog Structure
A well-structured blog improves both usability and SEO. Consider these key elements:
- Homepage — highlight featured posts or categories.
- Blog Archive Page — shows your recent posts.
- Single Post Template — how each article will look.
- Category & Tag Pages — organize content for better user experience.
- Sidebar Widgets — add recent posts, social icons, or newsletter signup.
Having a clear plan helps you design consistent templates in Elementor later.
Step 3: Create a Blog Archive Page with Theme Builder
Go to Templates → Theme Builder → Archive and click Add New.
Select “Archive” as the template type — this will control how your blog listing page looks.
Design Tips:
- Use the Posts Widget oder Loop Grid (Elementor Pro 3.8+) to display posts dynamically.
- Customize post style, spacing, and image ratios.
- Add filters or pagination for better navigation.
- Include a sticky sidebar or “Latest Posts” section for engagement.
👉 Reference: Elementor Official Theme Builder Guide
Step 4: Design the Single Post Template
Every blog post needs a unique yet consistent layout.
To create one:
- Go to Templates → Theme Builder → Single Post.
- Click Add New Template and choose “Single”.
- Insert the following dynamic widgets:
- Post Title
- Featured Image
- Post Content
- Post Info (Date, Author, Categories)
- Post Navigation
You can also add related posts or social share buttons at the bottom for better engagement.
💡 Pro Tip: Use “Dynamic Tags” in Elementor to automatically display post metadata (author bio, custom fields, etc.).
Step 5: Customize Blog Layout Using the Loop Grid (New in Elementor 3.8+)
Die Loop Grid is Elementor’s most advanced blogging tool. It allows you to create a custom post card once and automatically populate it across your blog archive.
Steps:
- Add a new Loop Grid widget.
- Click “Edit Template” to design your post card (title, featured image, excerpt, read more button).
- Save and apply it to your archive page.
- Adjust the number of columns and posts per page.
This approach makes your blog visually unique and fully dynamic.
👉 Learn more: Elementor Loop Grid Tutorial
Step 6: Add a Blog to Your WordPress Menu
To make your new blog page accessible:
- Go to Appearance → Menus.
- Add your Blog (archive) page.
- Save the menu and assign it to your header.
Now visitors can easily find your posts from the main navigation bar.
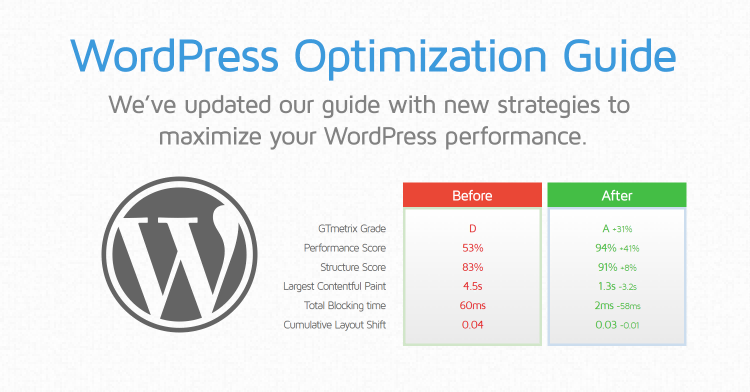
Step 7: Optimize Your Blog for SEO
Even the best-looking blog needs proper SEO.
Here are some quick wins:
👉 Reference: Google SEO Starter Guide
Step 8: Style and Test on All Devices
Before publishing, check your blog design on:
Use Elementor’s responsive editing tools to adjust padding, font size, and image ratios.
Preview your posts and test navigation to ensure everything feels smooth.
Step 9: Publish and Maintain Your Blog
Once everything looks great:
- Click Publish on your templates.
- Set display conditions (e.g., “All Posts” for single post templates).
- Schedule regular content updates.
- Monitor performance using Google Search Console und PageSpeed Insights.
Consistency and maintenance are key to long-term SEO success.
Related Post
👉 Elementor Pro – WordPress Plugin Overview
Externe Ressourcen